Oracle with OmniDB
OmniDB was designed to allow users to manage multiple databases from different RDMBS within an unified workspace. The philosophy is to use the same familiar web interface (same structures, icons, context menu and handy features such as SQL Autocomplete, Create/Edit Table Form and Edit Data) so the user feels comfortable and confident to manage different systems as if they are just different connections from the same system.
OmniDB 2.5.0 introduces basic support to Oracle databases. Users can connect and interact with Oracle databases the same way the tool already does for PostgreSQL databases. Oracle versions 11g and 12c are supported.
Let’s connect to Oracle databases
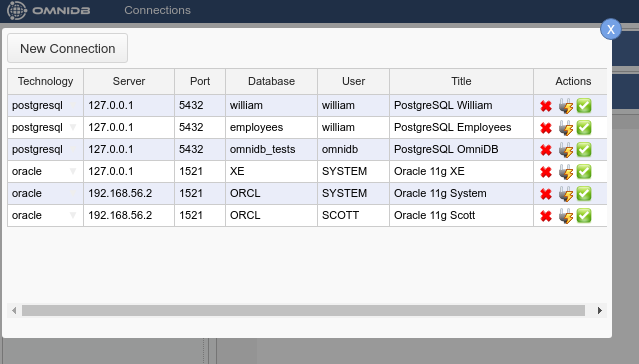
As you can see below, I already have some OmniDB connections. Now let’s connect to Oracle right away, click on New Connection. PostgreSQL is the default technology, you will have to choose oracle:
Fill the connection settings and click in the Test Connection action:
You will see an image saying the logon was denied:
This behavior is similar to how OmniDB handles PostgreSQL connections. To improve security, OmniDB does not keep the database password in some configuration file, it keeps it encrypted and in memory. If the user don’t perform any action against the database for a pre-defined amount of time, the password expires and user has to type it again.
As this is the first time we are trying to connect to this Oracle database, OmniDB does not have the password in memory yet. So OmniDB asks the user. After we type the password and hit Enter or the OK button, the connection test passes:
Before checking what is inside this database, why not opening another Oracle connections to other servers? You already know how to do it:
Let’s manage Oracle databases
As mentioned above, OmniDB allows you to manage multiple PostgreSQL and Oracle databases within the same unified workspace. The Connection Selector feature allows you to easily switch among the connections we previously configured:
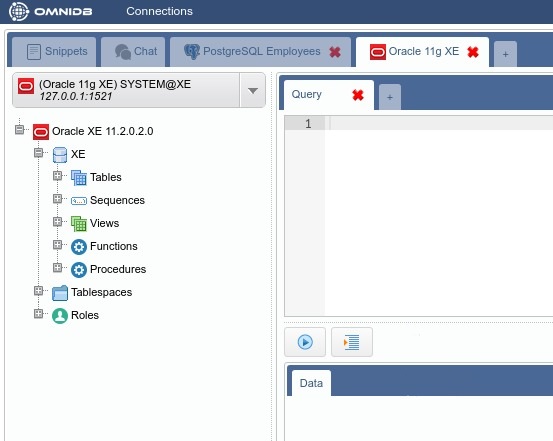
Now that we have selected the connection to Oracle 11g XE, let’s click on the root node of the treeview to expand it. Note how OmniDB detects the exact version of the server and shows a treeview structure very similar to the one you see when managing PostgreSQL databases:
OmniDB hides the Databases tree node, because in Oracle XE (Express Edition) there is only one database called XE.
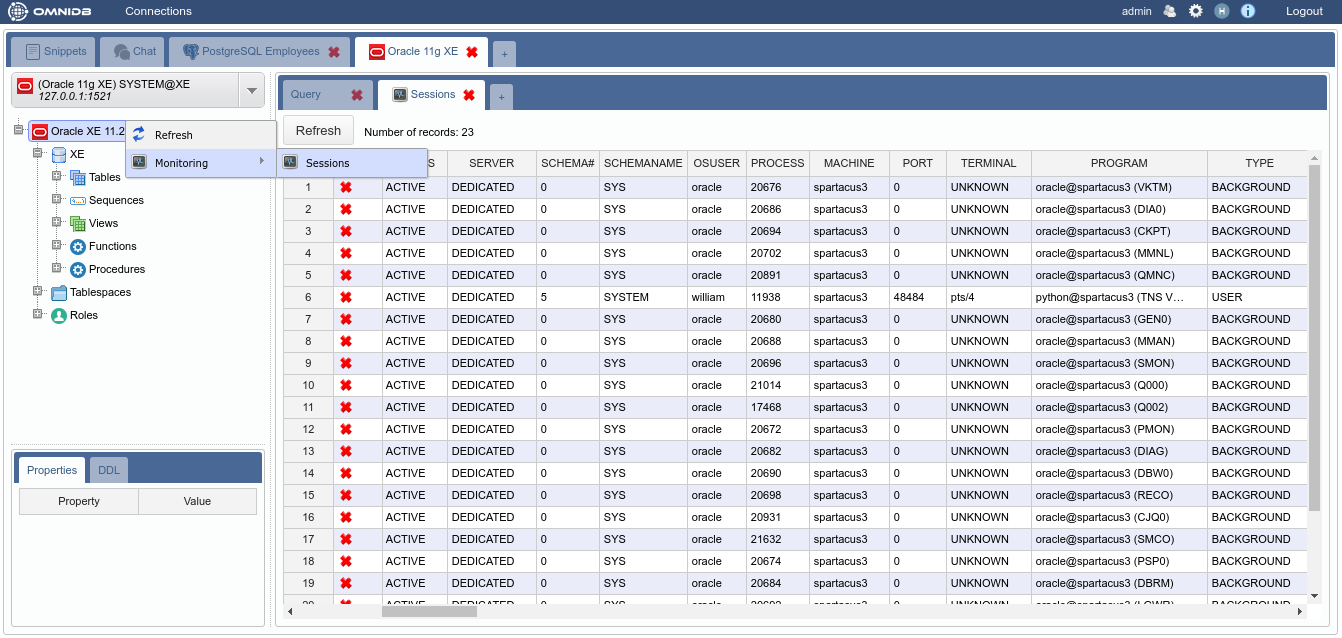
As we are connected to this XE database as user SYSTEM, we have privileges to view and manage Oracle Sessions. Right-click the root node, move the pointer to Monitoring and then click on Sessions:
You can also kill a session by right-clicking on the X action of the session (beware that this may have undesired collateral effects, make sure you know what you are doing!). A confirmation popup will appear:
The Oracle user SCOTT
Oracle 11g comes with an user called SCOTT (password tiger) just for demonstration purposes. This user is disabled by default. Also, in Oracle, an user is associated with an specific schema, which contains the database objects it owns.
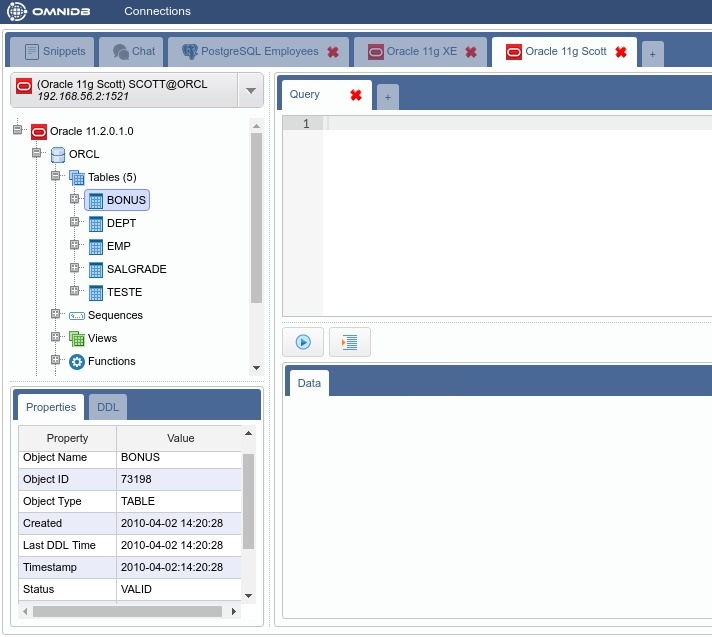
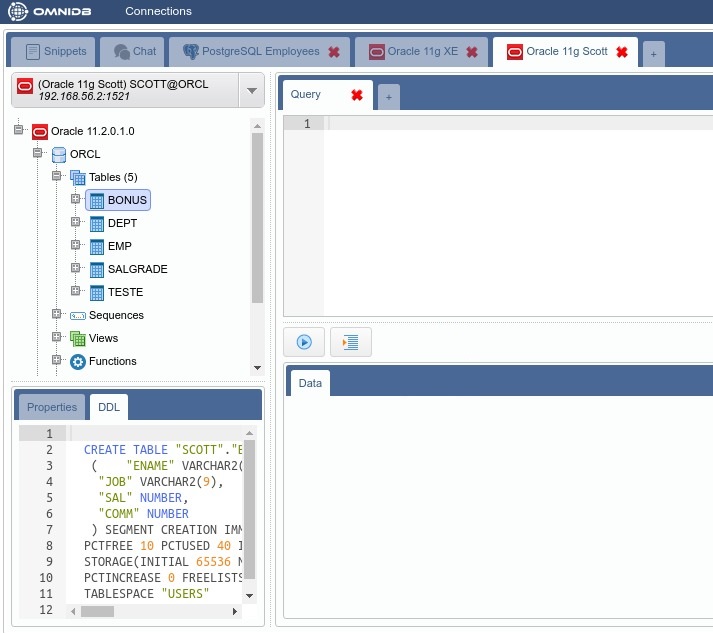
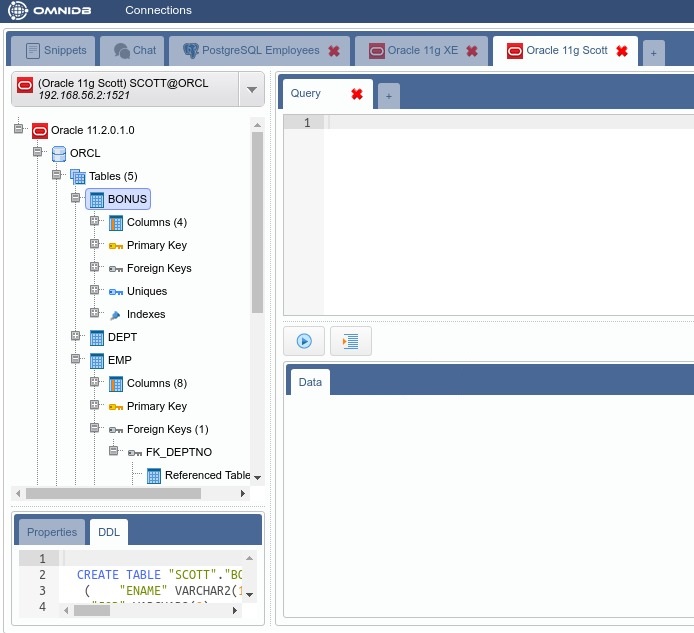
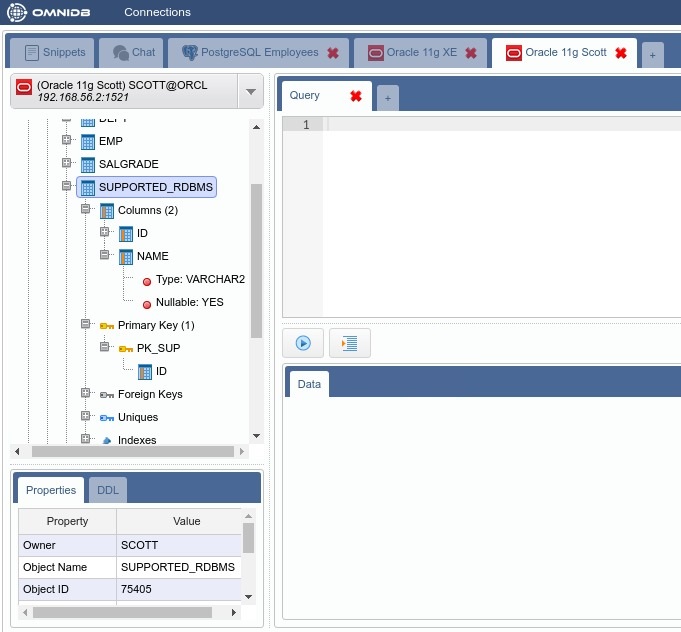
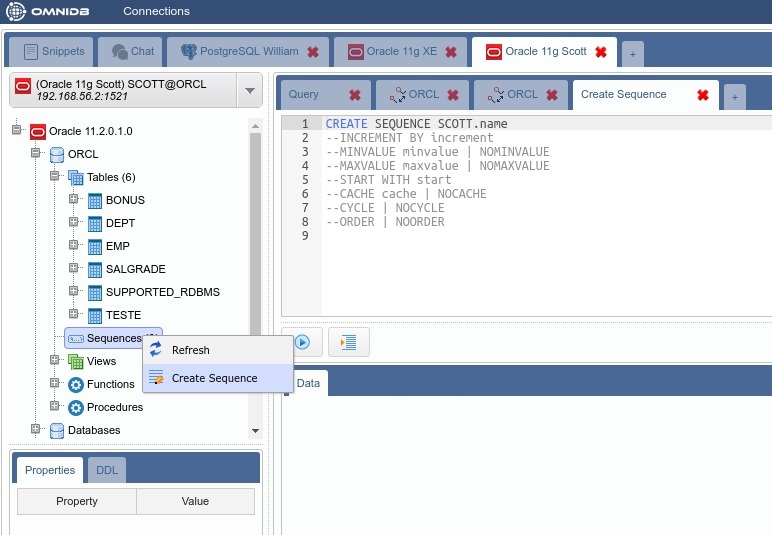
Let’s connect to this Oracle 11g server, using the scott credentials we informed when we created this connection in the Connection Grid. In the following images you can see that scott already owns 5 tables, and by clicking on each of them you can see its properties and DDL SQL (which can be copied). Also, by expanding each table, you can navigate through its elements.
Managing tables and data
OmniDB table creation and edition form works with Oracle too. To open it, just right-click in the Tables tree node and click in Create Table:
Choose a name for the new table, some fields and also create a primary key. When finished, click on Save Changes. Right-click the Tables and click Refresh to see the new table in the treeview. By clicking on the table, you will see properties and DDL SQL for it too.
OmniDB also allows you to manage data in a comfortable spreadsheet-like grid. Right-click our new table and move the pointer to Data Actions then click on Edit Data:
Let’s include some records. When finished, click on Save Changes:
Remember that in the same grid you can edit records and delete them by right- clicking on the X action.
Executing queries
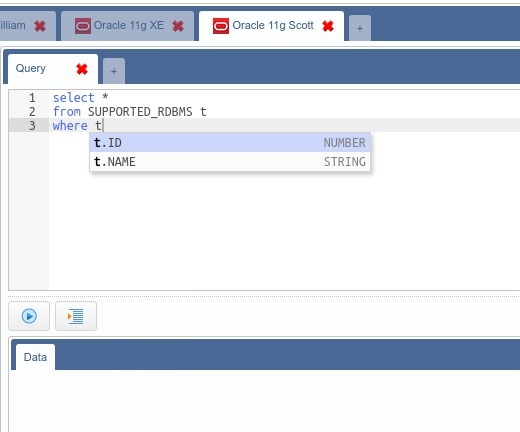
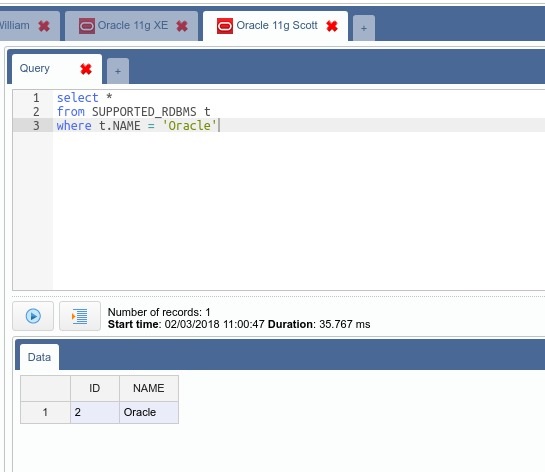
When connected to Oracle databases, in the Query Tab, you can benefit from the same familiar and comfortable SQL editor with SQL syntax highlight, autocomplete for columns of tables and subqueries and Find & Replace feature. The query results will be shown in a grid. You can see all these features in the images below.
For queries that return many records, only the first 50 records are shown. In this case, handy buttons Fetch More and Fetch All will appear. For long- running queries, a Cancel button will also appear. And of course, you can have several tabs open and executing queries in several databases. If the long- running query is not selected, a green icon will appear on its header when the query has finished executing.
Other familiar features
Several other well-known OmniDB features also work with Oracle databases. For example, the table relationship graphs (simple and complete), SQL History and SQL Templates.












Leave a Reply
Want to join the discussion?Feel free to contribute!